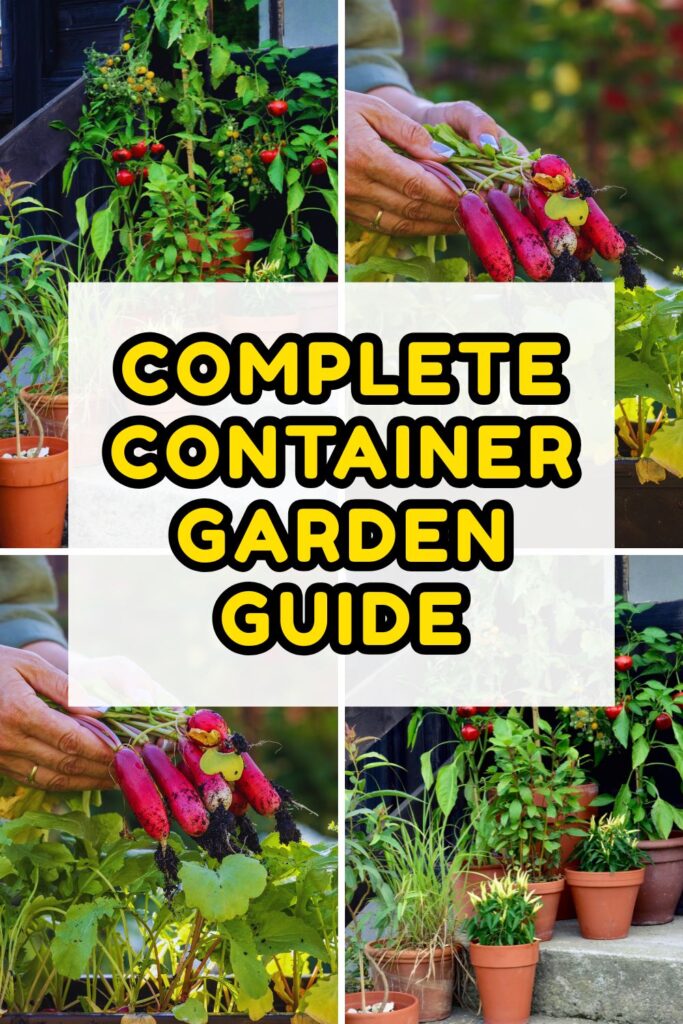
How to Start a Container Garden (Even If You’ve Never Grown a Thing)
Last Updated on October 7, 2025 by Sprout Folk Garden
If you’ve ever thought, “I wish I could grow fresh tomatoes, herbs, and flowers—but I don’t have a yard,” this guide is for you.
Container gardening lets you grow a beautiful, productive garden on a balcony, patio, stoop, or sunny windowsill. It’s flexible, beginner-friendly, and incredibly satisfying. You don’t need fancy tools or years of practice—just a few containers, the right soil, sunlight, and a simple routine.
Save to Pinterest
Affiliate links are used on this website, and I will receive a commission at no additional cost if you purchase through my links. I’m also part of the Amazon Affiliate (Associate) program, where I earn a commission from sales made through my affiliate links. Read the full disclosure & privacy policy.
Below is a thorough, step-by-step guide designed for true beginners. By the end, you’ll know exactly what to buy, what to plant, where to put it, and how to care for it all season long.
More to read:
Container Gardening
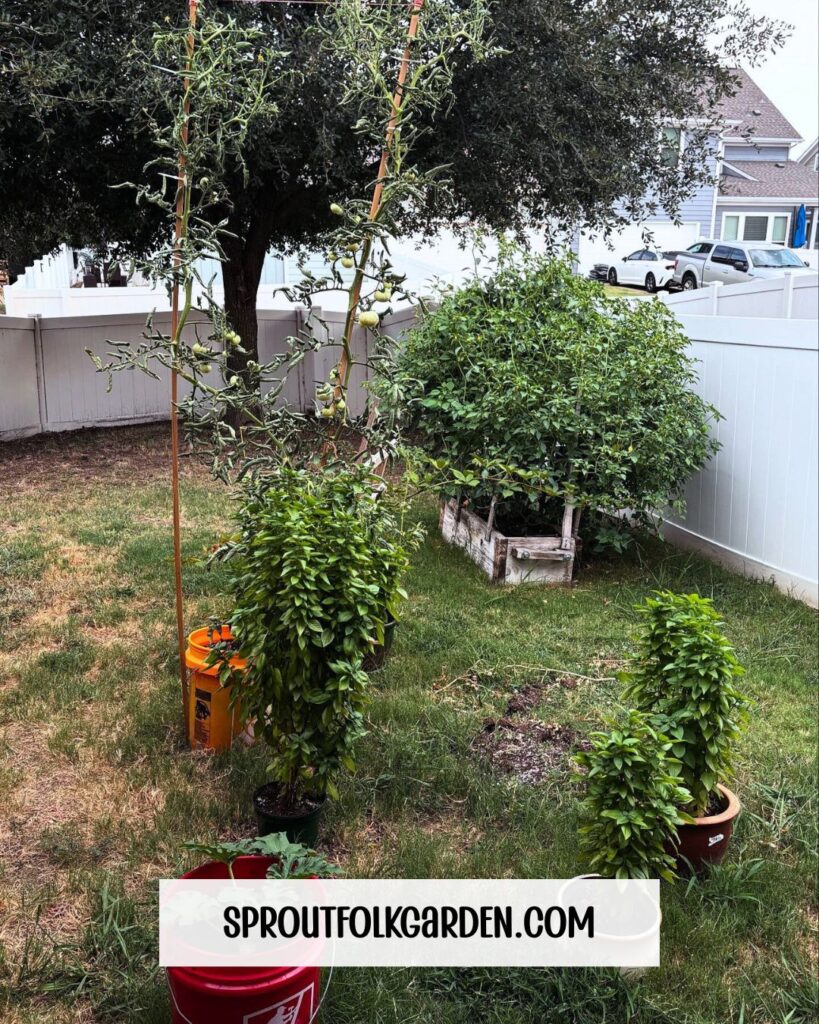
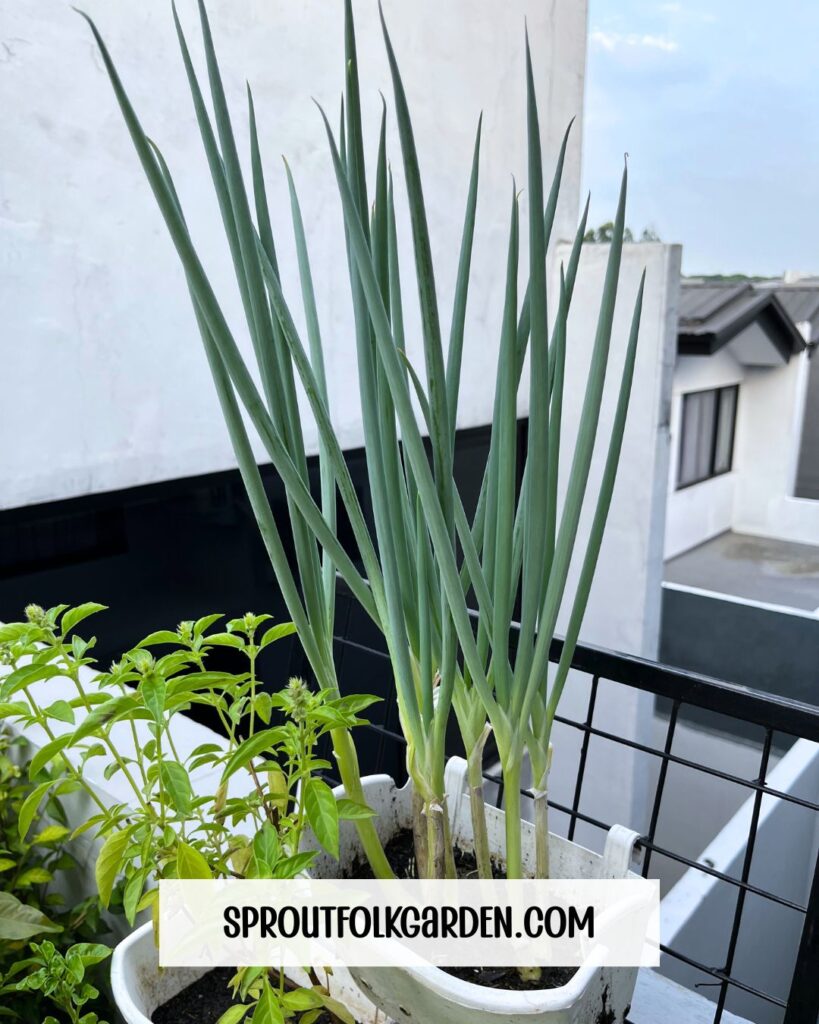
We garden in containers because our backyard is on the smaller side, and it just makes sense to maximize the space we do have. By using pots and planters, we can grow herbs, vegetables, and flowers without needing a big garden bed.
It’s honestly one of our favorite things about our home—we love being able to step outside and see our little container garden thriving, even in a compact space. It proves you don’t need a huge yard to enjoy gardening.
Why Container Gardening Works (Especially for Beginners)
- Small commitment, big payoff: You can start with one pot of basil and scale up as you gain confidence.
- Total control: You control the soil quality, water, and fertilizer—unlike in-ground beds where pests, weeds, and poor soil can overwhelm beginners.
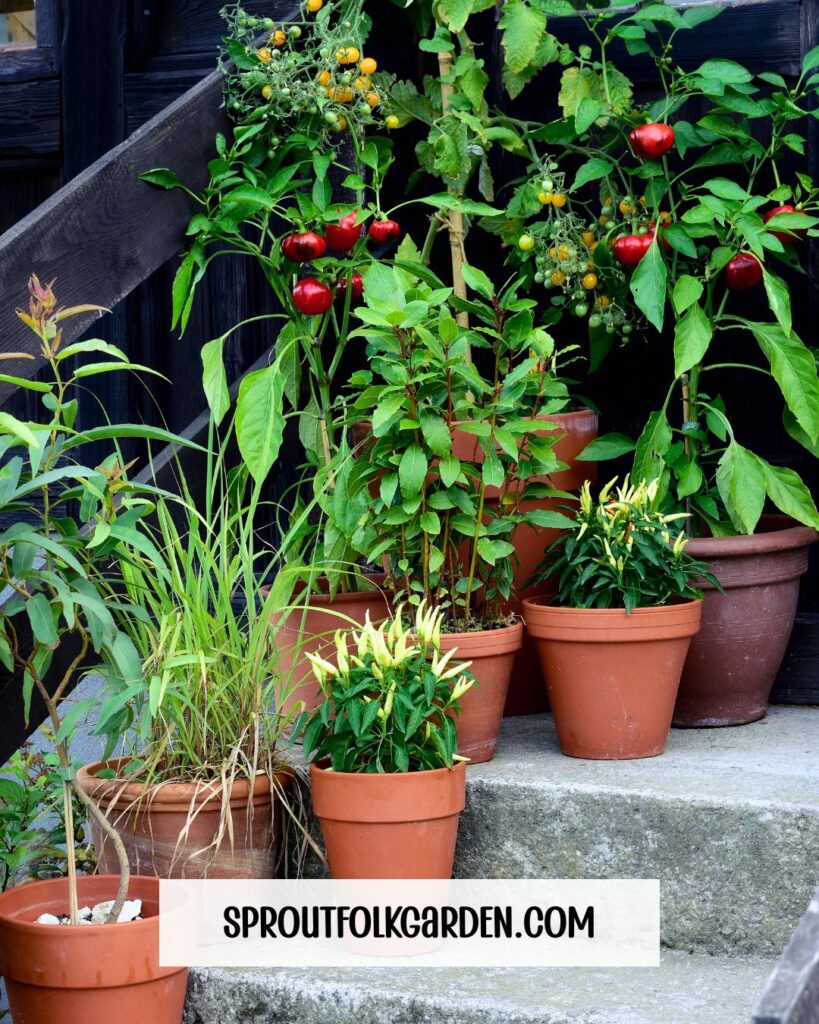
- Fits any space: Balconies, porches, patios, stoops, decks, driveways—if you have light, you can grow.
- Beautiful and useful: Containers double as decor and as fresh food and flowers for the kitchen.
Step 1: Choose Your Location
Plants need light, protection from extreme wind, and access to water. Your site determines what you can grow.
Light basics
- Most fruiting veggies (tomatoes, peppers, cucumbers) and Mediterranean herbs (basil, rosemary, thyme) need 6–8 hours of direct sun.
- Leafy greens (lettuce, spinach, arugula), parsley, cilantro, chives, and many flowers can thrive with 4–6 hours of bright partial sun.
- If you’re unsure, track sunlight for a day: note how long the area gets direct sun.
Wind & heat
- Balconies and rooftops can be windy; group containers together or place them behind a railing or screen.
- Dark surfaces and concrete radiate heat. In hot climates, give afternoon shade or use light-colored pots to prevent overheating.
Water access
- You’ll water more often than an in-ground garden. Make sure a hose, watering can, or sink is nearby.
Step 2: Pick the Right Containers
Nearly anything can be a planter if it drains well. The container sets the health and size of your plants.
Material options
- Terracotta/clay: Breathable, prevents soggy soil, classic look; dries out faster.
- Glazed ceramic: Holds moisture a bit longer; heavy and stable.
- Plastic/resin: Lightweight, affordable, retains moisture; great for balconies.
- Fabric grow bags: Excellent drainage and root aeration; lightweight and foldable for storage.
- Wood boxes/barrels: Attractive; line with plastic (with drainage holes) to extend life.
Drainage is nonnegotiable
- Every container must have drainage holes. If not, drill some (¼–½ inch holes). Add a saucer to protect surfaces.
Size matters
- Herbs/greens: 8–10 inches deep is fine.
- Peppers/eggplant: At least a 3–5 gallon container.
- Tomatoes: 10–20 gallons (bigger is better, especially for indeterminate varieties).
- Cucumbers/zucchini: 7–10+ gallons and a trellis for vining types.
- Potatoes: 10+ gallons or a tall grow bag you can “hill” over time.
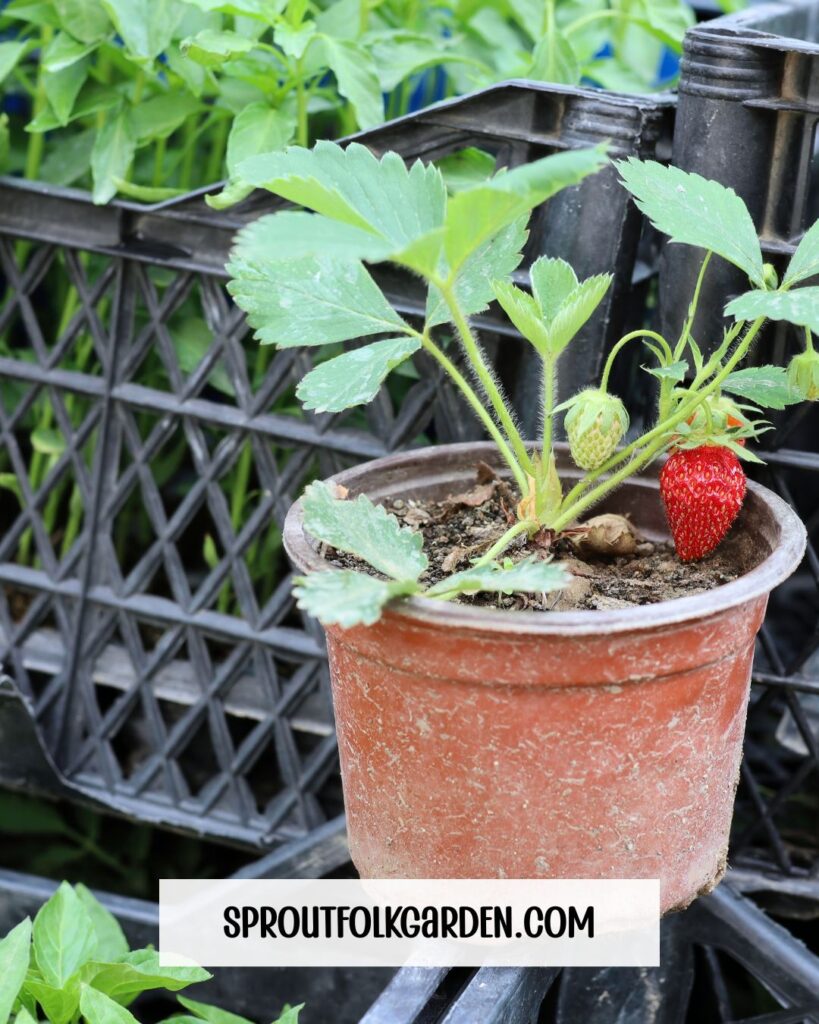
- Strawberries: Window boxes, 8–10 inches deep, or special strawberry planters.
Mobility
- Consider plant caddies with wheels for large pots so you can chase (or escape) the sun.
Step 3: Use the Right Potting Mix (Not Garden Soil)
Garden soil compacts in containers and can harbor pests. You need a loose, well-draining potting mix.
What to buy
- A high-quality, peat- or coco-based potting mix labeled for containers. Avoid “topsoil” or “garden soil.”
DIY potting mix (beginner-friendly)
- 2 parts bagged potting mix
- 1 part perlite or pumice (for drainage)
- Optional: 1 part high-quality compost (adds nutrients and biology)
Pre-moisten before filling
- Mix in a bucket with water until damp like a wrung-out sponge. Fill containers nearly to the top, leaving 1–2 inches for watering.

Step 4: Choose Beginner-Friendly Plants & Varieties
Pick plants suited to your light and climate. For fast success, choose compact or “patio” varieties bred for containers.
Sun-loving, container-friendly options
- Tomatoes: ‘Patio’, ‘Tumbler’, ‘Celebrity’, ‘Sun Gold’ (cherry), ‘Tiny Tim’ (dwarf).
- Peppers: ‘Baby Belle’, ‘Lunchbox’, many jalapeños.
- Eggplant: ‘Fairy Tale’, ‘Ichiban’.
- Cucumbers: ‘Bush Pickle’, ‘Patio Snacker’.
- Zucchini: ‘Raven’, ‘Black Beauty’ (give space), or try compact ‘Patio Star’.
Partial sun or flexible options
- Herbs: Basil, chives, parsley, mint (in its own pot), thyme, oregano, cilantro, dill.
- Greens: Lettuce mixes, arugula, spinach, kale, Swiss chard.
- Roots: Radishes (quick), baby carrots (choose “short” or “Parisian” types), beets.
- Strawberries: Ever-bearing types for steady snacks.
Start with transplants vs seeds
- Transplants (starts) are easiest for tomatoes, peppers, eggplant, herbs.
- Seeds are great for greens, radishes, beans, peas, and herbs like cilantro and dill.
Step 5: Planting Your Containers
Spacing & depth
- Follow the seed packet or plant tag. In general:
- Tomatoes: One plant per 10–20 gallon container, stake or cage at planting.
- Peppers: One per 3–5 gallon pot.
- Greens: Sow densely, then thin for baby salads.
- Radishes/carrots: Sow in rows or evenly broadcast; thin to recommended spacing.
- Herbs: One per 8–10 inch pot (mint absolutely solo), or group compatible herbs in a larger bowl.
Technique
- Loosen roots of transplants gently.
- Set at the same depth they grew in the nursery pot (tomatoes can be planted deeper to encourage more roots).
- Backfill, press lightly to eliminate air pockets, and water thoroughly.
Mulch for moisture
- A thin layer of straw, shredded leaves, or fine bark helps retain moisture and keeps soil cooler.
Step 6: Support, Trellises, and Vertical Space
Vining or tall crops need support immediately so you don’t disturb roots later.
- Tomatoes: Add a cage or stake at planting.
- Cucumbers/peas: Use a trellis or net against a wall or railing.
- Beans: Bush types for small containers; pole beans need a teepee or trellis.
- Soft ties: Use soft plant ties or fabric strips to avoid damaging stems.
Vertical gardening boosts yields and saves space, plus it looks beautiful.
Step 7: Watering the Right Way
Consistent watering is the biggest key to success in containers.
How often
- Check daily in warm weather; every other day in cooler periods.
- Feel the top 1–2 inches of soil. If dry, water. If damp, wait.
- Large containers dry out more slowly than small ones; terracotta dries faster than plastic.
How much
- Water until it flows from the drainage holes. Empty saucers so roots don’t sit in water.
Tools
- Long-spout watering can, hose with a gentle shower head, or a drip system for multiple pots.
Pro tip for vacations
- Group pots together in partial shade and water deeply before you leave. Consider self-watering containers or olla-style watering spikes for longer trips.
Step 8: Feeding and Fertilizing
Container plants use up nutrients faster than in-ground gardens.
Simple schedule
- At planting: Mix a slow-release organic fertilizer into the top few inches of soil according to label.
- Every 2–4 weeks in season: Feed with a diluted liquid fertilizer (fish/seaweed, balanced organic, or tomato-specific) when you water.
- Leafy greens: Lower-nitrogen balanced feeds keep leaves tender; overfeeding can make them bitter.
- Fruiting crops: Tomato or bloom-boosting formulas support flowers and fruit.
Always follow label directions. More is not better—overfeeding can burn plants or cause lush foliage with few fruits.
Step 9: Ongoing Care: Pruning, Deadheading, and Harvesting
Pruning
- Tomatoes: Remove “suckers” on indeterminate types if space is tight; keep airflow open.
- Herbs: Pinch basil tips regularly to keep it bushy. Letting basil flower slows leaf production.
- Greens: Cut outer leaves first (cut-and-come-again) for continuous harvest.
Deadheading
- Remove spent flowers on ornamentals to encourage more blooms.
Harvesting
- Harvest little and often—this stimulates growth.
- Morning harvests are most flavorful.
- Don’t take more than one-third of a plant at once (except cut-and-come-again greens).
Step 10: Troubleshooting Common Problems
Leggy, weak seedlings
- Not enough light. Move to a sunnier spot or use a grow light.
Yellow leaves
- Overwatering, poor drainage, or nutrient deficiency. Check moisture first, then consider a light feeding.
Wilting
- Could be underwatering or overheating. Water deeply, provide afternoon shade during heat waves.
Blossom drop (tomatoes/peppers)
- Temperature stress (too hot/cold) or inconsistent watering. Keep soil evenly moist and provide shade cloth on scorchers.
Powdery mildew
- White film on leaves in humid conditions. Increase airflow, avoid overhead watering, remove worst leaves, consider an organic fungicide if needed.
Pests
- Aphids: Blast with water or use insecticidal soap.
- Whiteflies: Yellow sticky traps + insecticidal soap.
- Caterpillars: Hand-pick or use BT (Bacillus thuringiensis) as labeled.
- Spider mites: Increase humidity, rinse leaves, use neem or insecticidal soap.
Critters & birds
- Netting or cloches can protect strawberries and tender greens.
Smart Combinations for One-Pot Success
Sunny “Caprese” pot (18–20 inches)
- 1 dwarf tomato + 1 basil (in separate smaller pot nearby if space is tight) + trailing oregano around the edge. Stake the tomato.
Salad bowl (12–16 inches)
- Mixed leaf lettuce, arugula, and baby kale sown densely. Harvest outer leaves regularly.
Pizza herb bowl (12–14 inches)
- Oregano, thyme, chives, and parsley. Keep mint separate.
Cucumber tower (7–10 gallon)
- 1 bush cucumber with a narrow trellis, underplanted with dill. Water consistently for crisp fruit.
Four Seasonal Planting Plans (Plug-and-Play)
Plan A: Beginner Patio Trio (full sun)
- 15–20 gallon pot: Dwarf cherry tomato with cage.
- 5-gallon pot: Sweet pepper.
- 10-inch pot: Basil.
Care: Fertilize lightly every 2–3 weeks. Water daily in heat. Harvest often.
Plan B: Shady Balcony Greens
- 24–30 inch window box: Mixed lettuces and spinach.
- 10-inch pot: Parsley.
- 10-inch pot: Chives.
Care: Water regularly; rotate box weekly. Re-sow greens every 3–4 weeks for a steady supply.
Plan C: Cocktail & Mocktail Corner
- 12-inch pot: Spearmint (solo).
- 10-inch pot: Lemon balm (solo).
- 10-inch pot: Strawberry (everbearing).
Care: Keep moist; harvest leaves frequently; protect fruit with netting if birds visit.
Plan D: Vertical Veggie Wall
- Tiered shelf with grow bags:
- Top: Rosemary and thyme (drier).
- Middle: Peppers.
- Bottom: Basil and parsley (moister).
- Trellis on the side for a bush cucumber.
Care: Water bottom tier first; drip lines make life easier.
Budget-Friendly Starter Checklist
Must-haves
- 2–4 containers with drainage (8–20 inches)
- Quality potting mix (enough to fill your containers)
- Slow-release fertilizer + liquid fertilizer
- Watering can or hose/shower wand
- Seeds or transplants suited to your light
- Plant labels and soft ties
Nice-to-haves
- Plant caddies with wheels (for big pots)
- Mulch (straw, shredded leaves)
- Trellis/cages for vining crops
- Drip kit or self-watering planters for vacations
Month-by-Month Quick Care Calendar (Adjust to Your Climate)
Early Spring
- Clean pots, plan layout, buy seeds/transplants.
- Sow cool-season greens and peas; pot up herbs like parsley and chives.
Mid–Late Spring
- After danger of frost, plant tomatoes, peppers, cucumbers, and basil.
- Install supports at planting. Begin light feeding 2–3 weeks later.
Summer
- Water consistently, mulch, prune, and harvest regularly.
- Shade or move pots if leaves scorch. Re-sow greens in partial shade.
Early Fall
- Plant a second wave of greens, cilantro, and dill.
- Keep harvesting warm-season crops until nights get cold.
Late Fall–Winter
- Bring tender herbs inside or start an indoor pot on a bright sill.
- Clean and store containers; refresh potting mix for next season.
Frequently Asked Questions
How often should I water?
Check soil daily. Water when the top inch is dry. In summer heat, many containers need water every day; large pots and self-watering containers buy you more time.
Can I reuse potting mix?
Yes, if plants were healthy. Refresh by removing old roots, adding 25–50% new mix and a bit of compost, and recharging with slow-release fertilizer. If disease struck, discard and start fresh.
Do I need to rotate crops in containers?
It helps. Don’t grow tomatoes or peppers in the exact same soil year after year; switch to greens or herbs in that container the following season.
What if I only have shade?
Grow leafy greens, mint (in its own pot), chives, parsley, cilantro, and some edible flowers. You can still have a beautiful, productive garden.
How many plants per pot?
Use plant tags as your guide, and err on the side of fewer plants in smaller pots. Overcrowding causes poor growth and disease.
Quick Start: A One-Weekend Plan
- Friday: Choose the sunniest spot. Buy one 15–20 gallon container, one 10-inch pot, potting mix, a tomato cage, slow-release fertilizer, liquid fertilizer, one dwarf tomato transplant, and one basil transplant.
- Saturday morning: Pre-moisten mix, fill containers, plant, add cage. Water deeply.
- Sunday: Add labels, set a watering reminder, and take a photo to track growth.
- In two weeks: Begin light, regular feeding.
- In four to six weeks: You’re harvesting basil; tomatoes soon after.
Common Beginner Mistakes (And How to Avoid Them)
- Too-small containers: Bigger pots buffer mistakes and reduce watering frequency.
- No drainage: Drill holes or choose different containers.
- Overwatering: Learn the feel test; when in doubt, wait a day.
- Underfeeding: Light but consistent feeding supports steady growth.
- Waiting too long to support plants: Install stakes/cages at planting time.
- Crowding: Give roots room; it’s better to have one vigorous plant than three struggling ones.
Final Thoughts
Container gardening is a gentle on-ramp into growing your own food and flowers. Start small, keep it simple, and let your garden teach you. A single pot of basil can spark a lifelong love of growing.
Add a tomato next, then a pepper, then a cascade of strawberries. With a handful of good habits—right pot, right soil, consistent water, light feeding—you’ll be harvesting fresh, homegrown goodness in weeks.