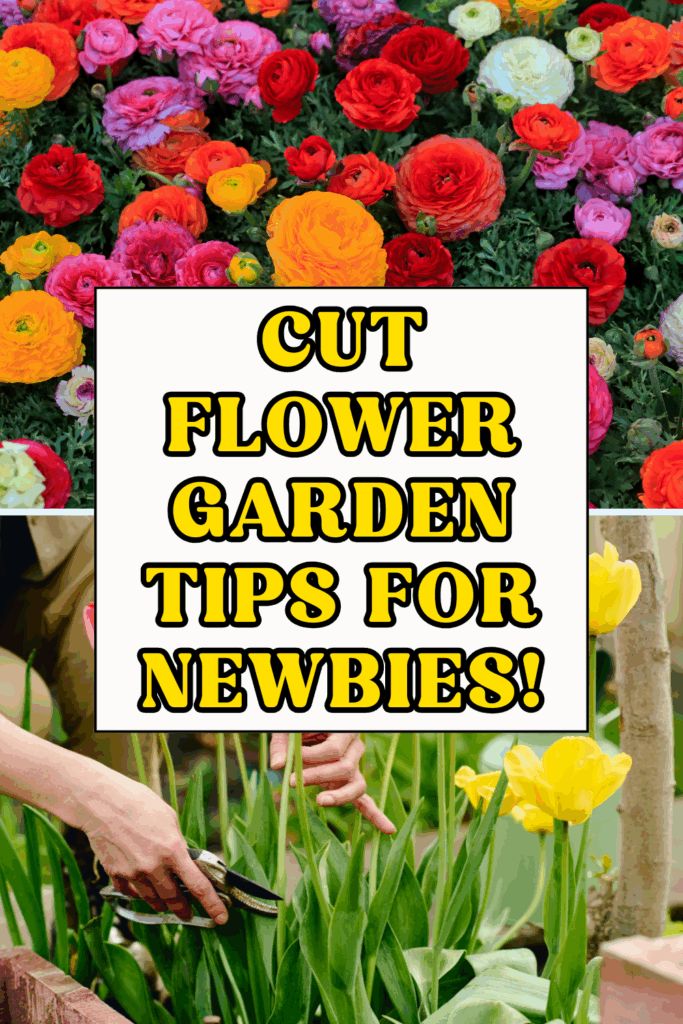
How to Start a Cut Flower Garden (Even If You’re a Total Beginner)
Last Updated on October 6, 2025 by Sprout Folk Garden
There’s something magical about snipping fresh blooms straight from your garden and filling your home with vibrant color and fragrance.
A cut flower garden doesn’t have to be complicated or require tons of space—just a bit of planning, a sunny spot, and a love for flowers.
Whether you’re dreaming of cheerful mason jar bouquets or elegant arrangements for your dining table, this guide will walk you through the simple steps to get started.
Save to Pinterest
Affiliate links are used on this website, and I will receive a commission at no additional cost if you purchase through my links. I’m also part of the Amazon Affiliate (Associate) program, where I earn a commission from sales made through my affiliate links. Read the full disclosure & privacy policy.
Cut Flower Garden Must-Haves
Are you new to cut flower gardening and not sure what you’ll need or want for the process? Check out the thorough list below!
Garden Prep & Planting
- Raised garden beds or large planting containers
- High-quality potting soil or compost mix
- Organic compost or soil conditioner
- Mulch (straw, bark, or leaf mulch)
- Garden trowel & hand rake
- Measuring tape or garden stakes for neat rows
- Plant labels or garden markers
Seeds & Plants
- Packs of easy-to-grow flower seeds (zinnias, cosmos, sunflowers, snapdragons, sweet peas, etc.)
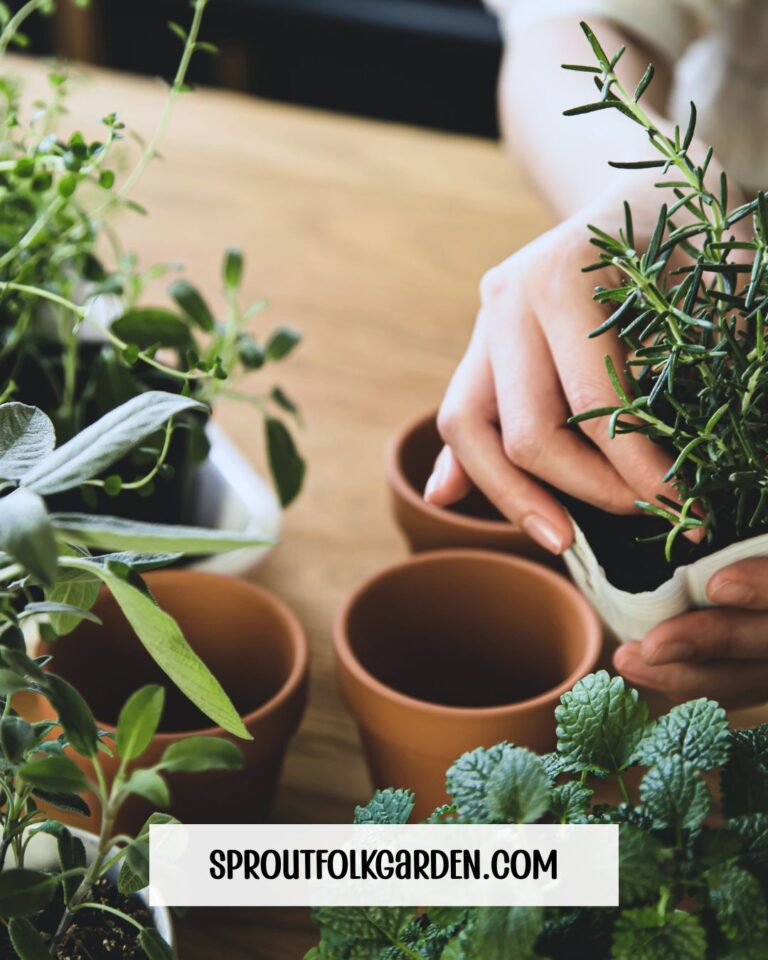
- A few perennial starter plants for structure (e.g., hydrangeas, coneflowers, lavender)
- Seed trays or small pots for starting indoors (optional)
- Seed-starting mix for germination
Watering & Maintenance
- Garden hose with adjustable spray nozzle
- Watering can (handy for seedlings and container gardens)
- Soaker hoses or drip irrigation for easy watering
- Organic all-purpose fertilizer
- Stakes, trellises, or plant supports for taller blooms
- Pruning shears or sharp garden snips
- Garden gloves (bonus points for floral print)
Harvesting & Arranging
- Clean floral snips or scissors for cutting blooms
- Harvest basket, trug, or bucket for collecting flowers
- Flower food or preservative packets
- Buckets or vases for conditioning stems in cool water
- Twine or rubber bands for bundling stems
- A pretty selection of vases or jars for arrangements
Extras & Nice-to-Haves
- Gardening apron with pockets
- Garden kneeler or cushion for comfort
- A simple bloom calendar or gardening planner
- Plant tags or markers for seed saving
- Small tool storage bin or caddy to keep everything organized
Start with the basics (good soil, seeds, tools, and snips), then slowly build up your garden gear over time. A few well-chosen products can make a huge difference in how easy and enjoyable your flower gardening experience is.

Grow a Cut Flower Garden!
01. Pick the Perfect Spot
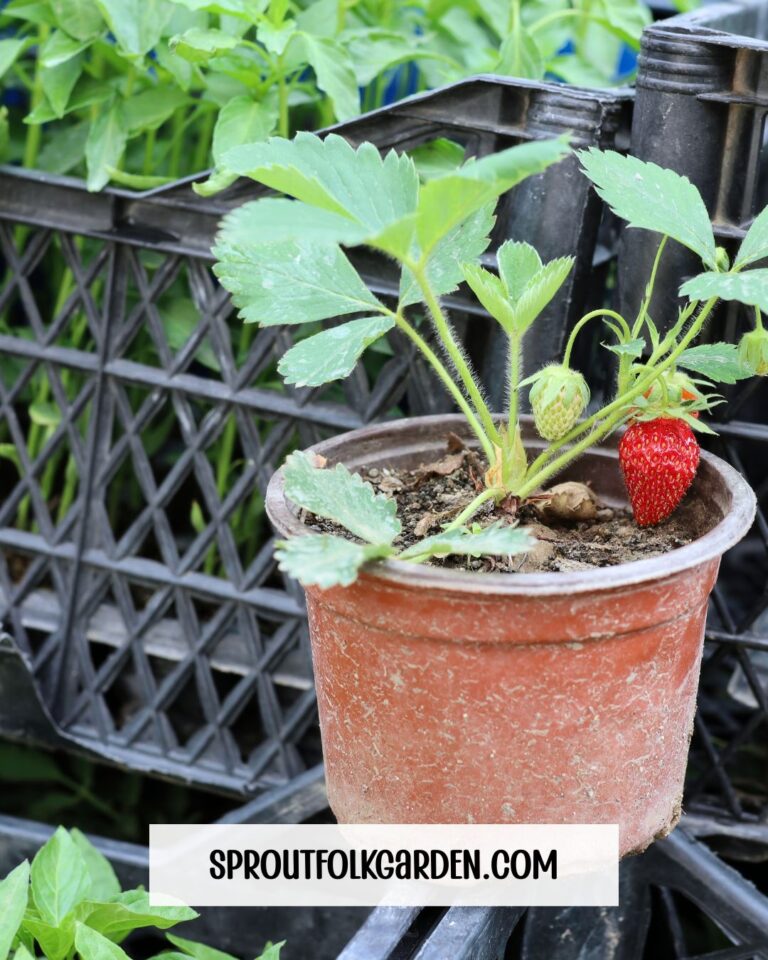
The right location makes all the difference. Look for a sunny spot that gets at least 6 hours of direct sunlight each day—flowers love the sun! Easy access to water will make your life simpler, especially during hot spells.
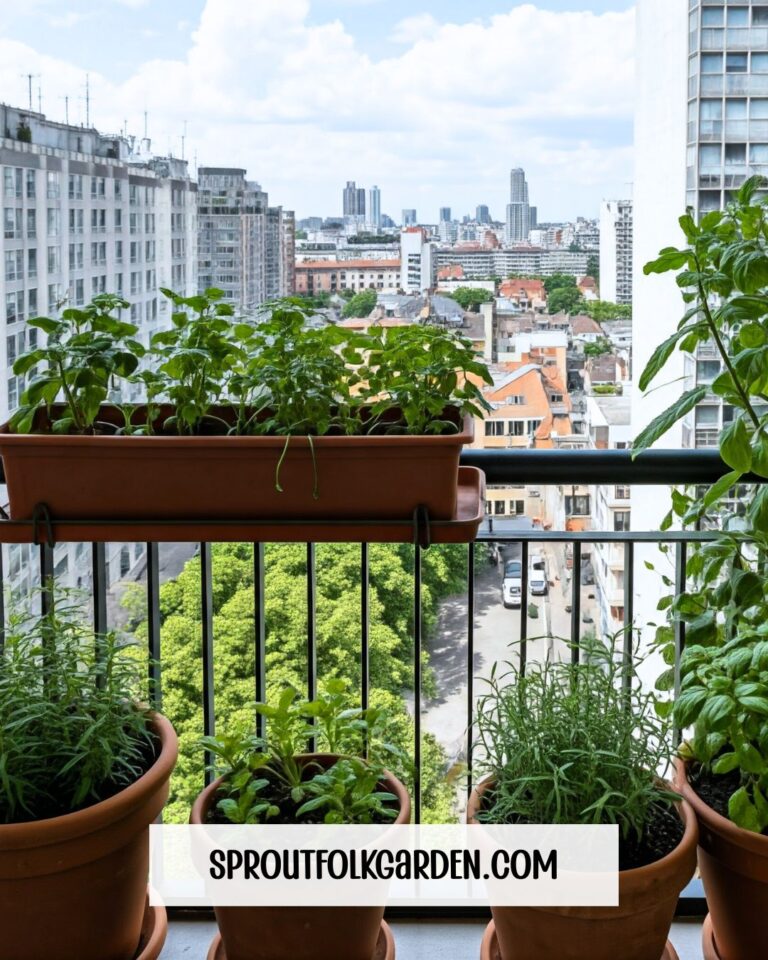
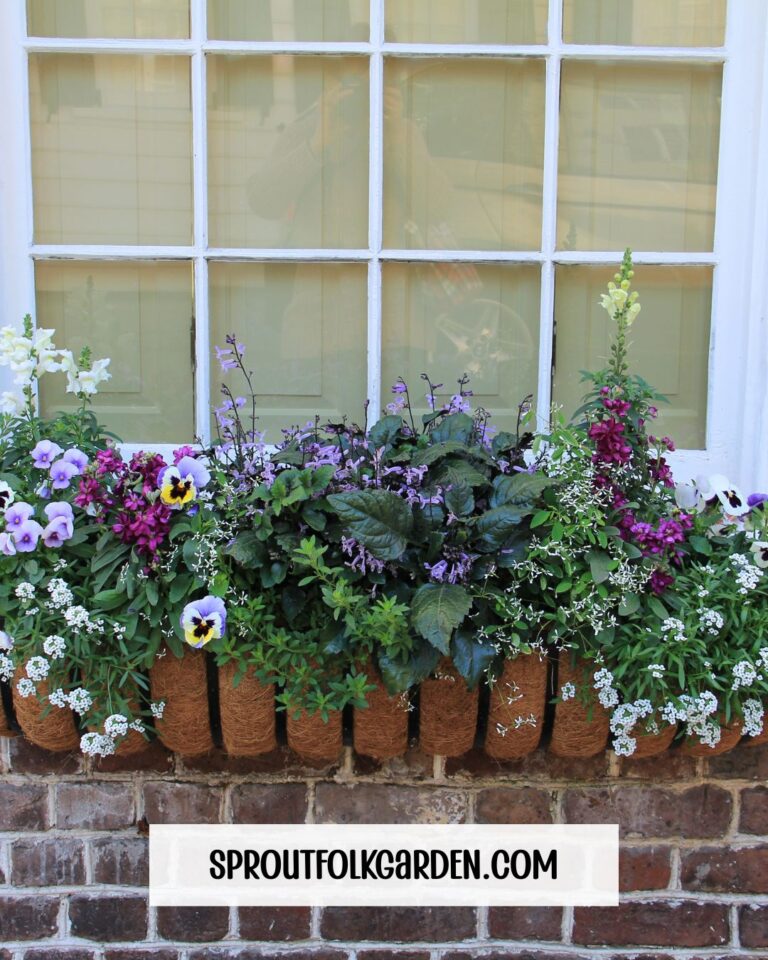
If you’re short on space, don’t worry. Raised beds, tucked-away borders, or even large containers can all be transformed into mini flower farms. The key is good light, healthy soil, and a place you’ll enjoy tending.
02. Plan Your Garden Layout
Starting small is the smartest move. A single raised bed or a few neatly arranged rows can yield more flowers than you might expect. When planning your layout, think about access paths so you can easily harvest without stepping on your plants.
Keep the design simple: group similar heights together, leave enough space between plants for air circulation, and make sure your favorites are front and center where you’ll see them bloom every day.
03. Choose Easy, Reliable Flowers
Not all flowers are created equal—especially for beginners. For your first year, stick to hardy, prolific bloomers that don’t need a lot of fussing. Great starter choices include:
- Zinnias – Bright, bold, and endlessly cheerful.
- Cosmos – Delicate, airy, and a pollinator magnet.
- Sunflowers – Classic statement flowers that scream summer.
- Snapdragons – Elegant spikes that add height to bouquets.
- Sweet Peas – Fragrant climbing blooms perfect for spring.
Choose a mix of focal flowers (like sunflowers), fillers (like cosmos), and a few foliage plants for texture. This combo gives your bouquets a professional look without the stress.

04. Prep the Soil Like a Pro
Healthy soil = healthy blooms. Start by clearing weeds and loosening the soil. Mix in compost or organic matter to enrich it and help retain moisture.
If your native soil is poor, raised beds filled with a quality mix of topsoil and compost can give your flowers the best possible start. A light layer of mulch helps keep weeds down and moisture in—less work for you!
05. Plant & Care with Consistency
Planting time depends on your local frost dates. Some flowers, like sweet peas, prefer cooler weather, while others like zinnias love the heat. Read your seed packets—they’re full of useful info.
Once your flowers are in, regular watering is key (deeply, a couple of times a week is better than frequent light watering). Feed your plants occasionally with a balanced fertilizer to keep them thriving.
Deadheading—removing spent blooms—encourages more flowers, and staking taller varieties like snapdragons keeps them from flopping over.
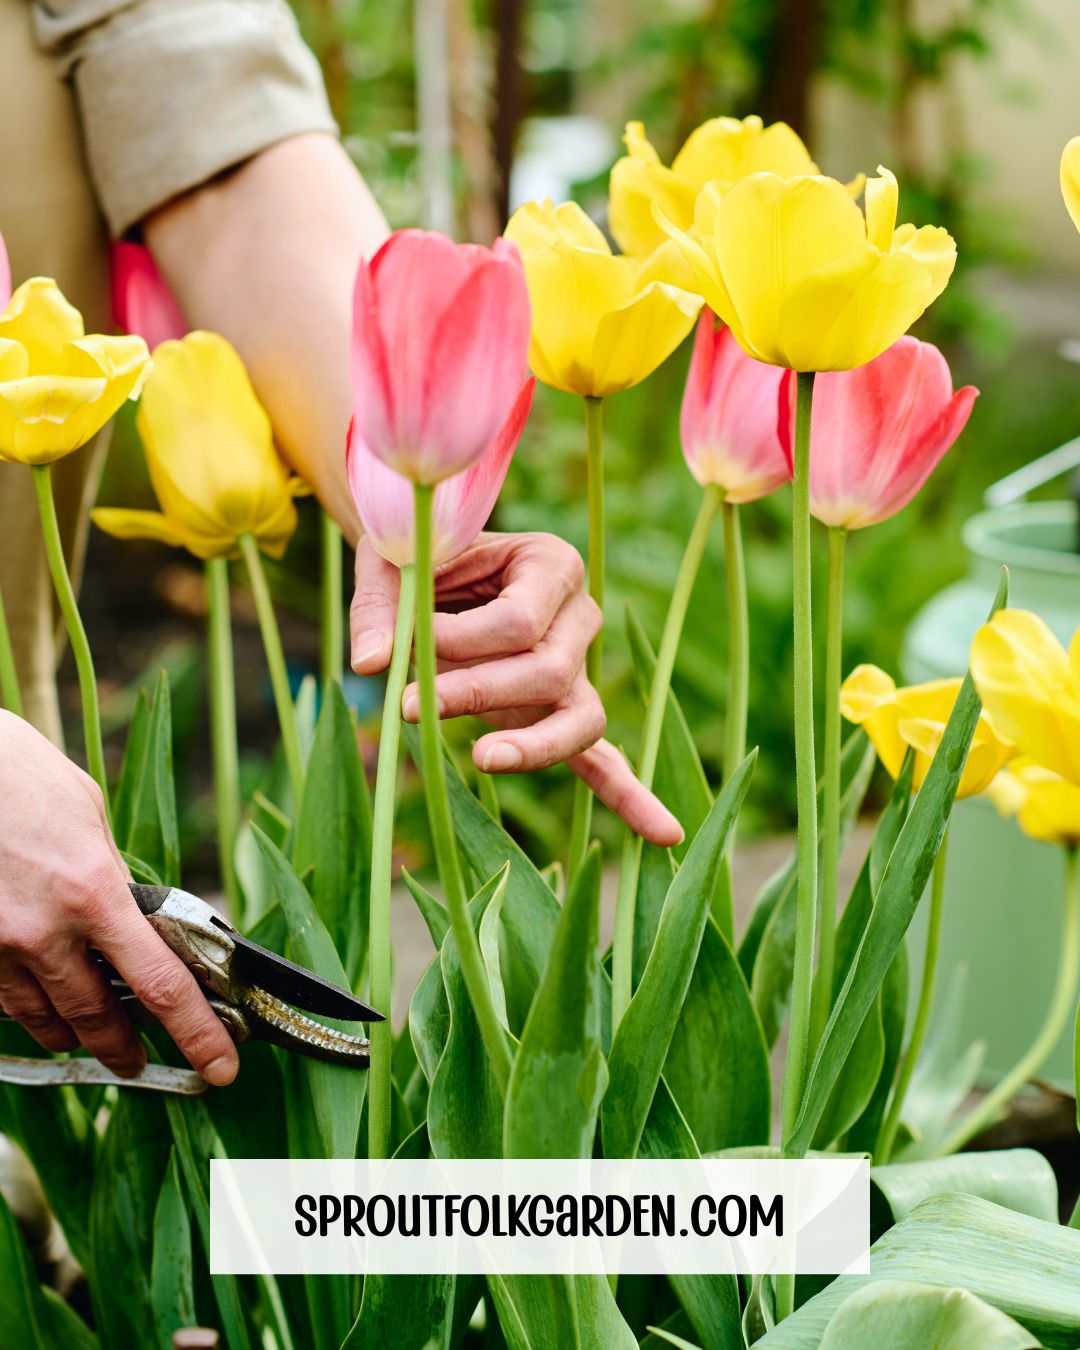
06. Harvest & Enjoy Your Blooms
Here’s the fun part! The best time to cut flowers is in the cool morning, when stems are fully hydrated. Use clean, sharp scissors or snips to avoid crushing stems.
Strip off any leaves that would sit below the water line in your vase, and pop the flowers into cool water as soon as you can. A little flower food or a drop of bleach in the vase helps them last longer.
With just a few snips, you’ll have fresh bouquets to brighten your home, share with friends, or even sell at a local market stand.
07. Bonus: Keep the Blooms Coming
To extend your harvest, try succession planting—sowing new seeds every few weeks so fresh plants are always coming up. Pinching young plants (snipping the growing tip) encourages bushier growth and more stems.
And don’t forget to save seeds from your healthiest plants for next year—it’s free, easy, and incredibly satisfying.
08. Common Beginner Mistakes to Avoid
- Overcrowding: Give your plants room to breathe.
- Neglecting soil prep: Healthy soil sets you up for success.
- Forgetting to harvest: Many flowers bloom more when cut regularly.
- Choosing tricky flowers first: Start simple, then expand later.
Final Thoughts
Starting a cut flower garden is less about perfection and more about enjoying the process. You don’t need acres of land or years of experience—just a sunny spot, a few good seeds, and the willingness to get your hands a little dirty.
Even one raised bed or a few large containers can fill your home with beautiful, homegrown blooms all season long. So grab your gloves, pick your favorites, and let this be the year you grow your own flower magic.
👉 Bonus Tip: Create a simple gardening checklist or bloom calendar to keep yourself organized—and don’t forget to sign up for my free gardening newsletter for more easy, inspiring tips!