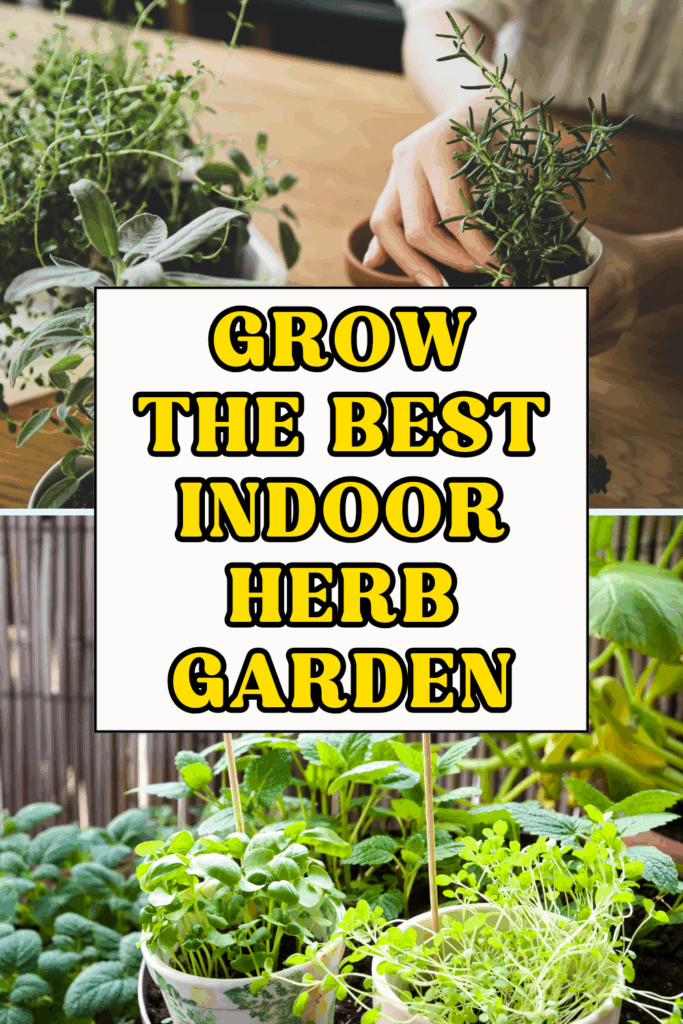
How to Start an Indoor Herb Garden (Even If You’ve Never Grown a Thing!)
Last Updated on October 6, 2025 by Sprout Folk Garden
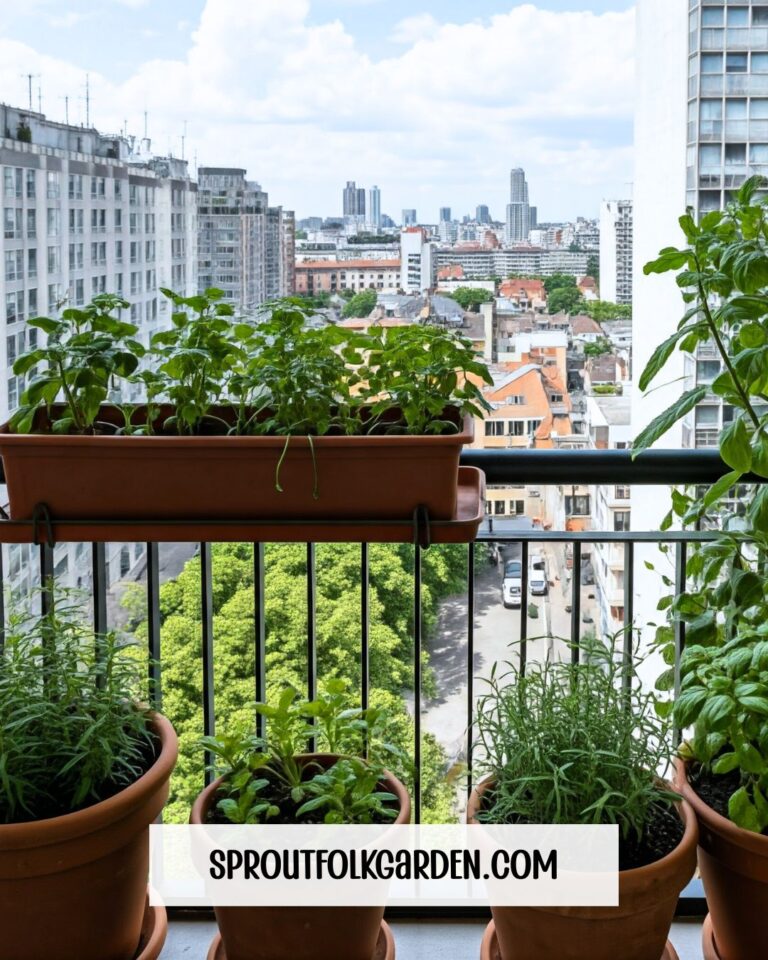
Dreaming of snipping fresh basil for pasta or mint for your morning tea—without stepping outside?
Have you ever dreamed of snipping a few sprigs of fresh basil for your homemade pizza or adding just-picked mint to your iced tea… without ever stepping outside? An indoor herb garden makes that dream totally possible—no backyard, greenhouse, or gardening experience required.
Even if you’ve never kept a plant alive for more than a week (we’ve all been there), you can absolutely grow a thriving indoor herb garden that smells amazing, looks beautiful, and gives you fresh ingredients year-round. With a sunny windowsill, a few basic supplies, and a sprinkle of patience, you’ll be harvesting your own herbs in no time.
Here’s exactly how to get started.
Save to Pinterest
Affiliate links are used on this website, and I will receive a commission at no additional cost if you purchase through my links. I’m also part of the Amazon Affiliate (Associate) program, where I earn a commission from sales made through my affiliate links. Read the full disclosure & privacy policy.
Herb Gardening Supplies
- Indoor Herb Garden Planter
- Herb Starter Kit
- Three Pot Herb Kit
- Herb Seeds
- Herb Gardening Made Simple – book
How to Grow an Indoor Herb Garden
There’s just something magical about snipping a few fresh basil leaves right from my windowsill and tossing them into a simmering pot of pasta sauce. The aroma instantly fills my kitchen, and the flavor is so much brighter than anything store-bought.
It’s quickly become one of my favorite little rituals, and now I’m completely hooked—I can’t wait to grow even more herbs right in my kitchen. From mint for teas to parsley for garnishes, having fresh herbs at my fingertips makes cooking feel extra special.
If you’ve been dreaming of starting your own indoor herb garden but aren’t sure where to begin, don’t worry—I’ve got you covered. Here are my best tips for starting an indoor herb garden, even if you’ve never grown a thing before!
01. Pick the Perfect Spot
The secret to happy herbs starts with light. Most herbs love the sun and need 4–6 hours of bright, direct light each day to grow strong and flavorful. The easiest way to give them that is to place your pots on a south-facing windowsill (if you’re in the Northern Hemisphere) or anywhere that gets steady sunlight.
Bonus Tip: Rotate your pots every few days so each side gets light evenly. This keeps plants from leaning toward the window and helps them grow upright and full.
If your home doesn’t get a lot of natural light, don’t let that stop you. A simple LED grow light can work wonders. These lights mimic the sun’s rays and can be clipped to shelves or set up on a timer so your herbs get consistent “daylight,” even during the darker months.
02. Start with Easy, Beginner-Friendly Herbs
Not all herbs are created equal—some are more forgiving for new gardeners. To set yourself up for success, pick low-maintenance herbs that thrive indoors.
Some of the best starter herbs include:
- Basil – Grows quickly and loves warmth and sunlight. Perfect for pasta, pizza, and salads.
- Mint – Almost impossible to kill and grows abundantly. Great for teas, cocktails, and desserts.
- Parsley – Hardy and versatile, perfect for garnishing or adding flavor to soups and stews.
- Chives – Easy to grow, mild onion flavor, and they bounce back quickly after trimming.
- Thyme – Compact, fragrant, and doesn’t need constant watering.
Start with just three to five herbs—that’s plenty for a beginner. You can always expand once you get the hang of it.
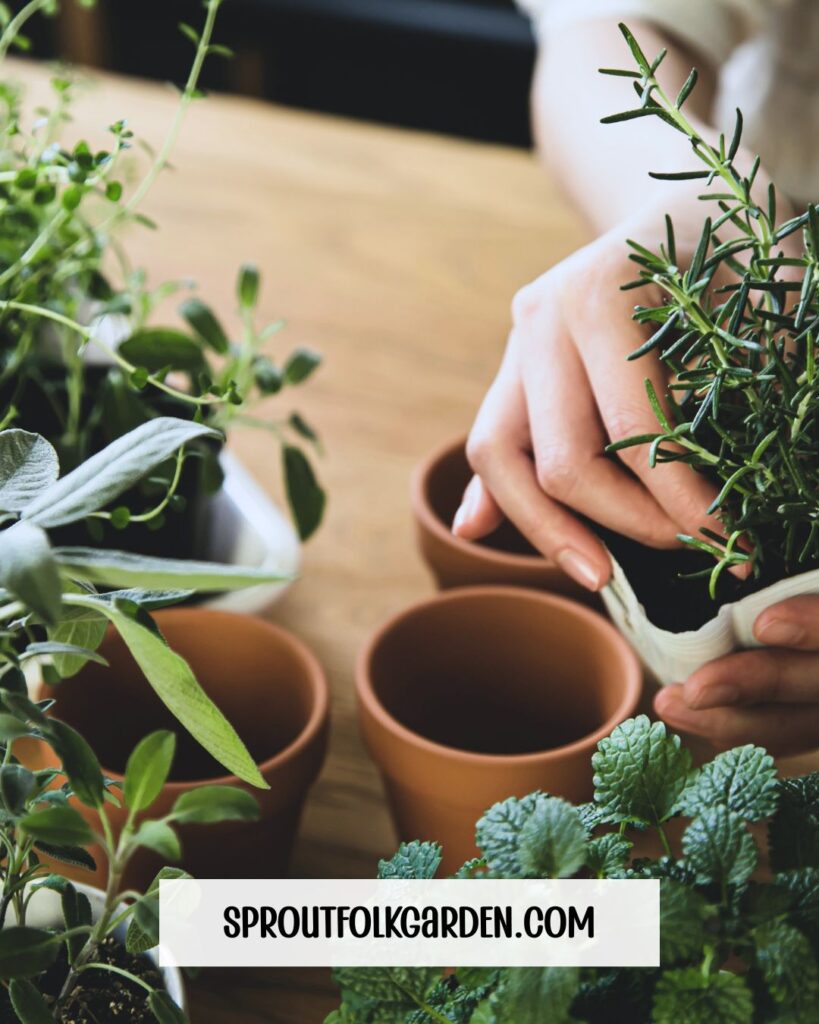
03. Choose the Right Containers and Soil
The container you use matters more than most people realize. Herbs don’t like “wet feet,” so pick pots with drainage holes at the bottom to prevent water from pooling. This keeps the roots from rotting and helps your plants thrive.
If you love a cohesive look, choose matching terracotta, ceramic, or pretty white pots to display on your windowsill. Just make sure they have a way for excess water to escape—either built-in drainage or a layer of pebbles at the bottom.
Next, skip the heavy garden soil and go for a high-quality potting mix. Potting mix is lighter, drains better, and provides the right balance of nutrients for indoor plants. Some gardeners like to mix in a bit of perlite or vermiculite to boost drainage even more.
Bonus Tip: If you’re repotting store-bought herbs (like the ones you get in plastic sleeves at the grocery store), gently loosen the roots before placing them in their new home. This encourages the roots to spread and grow stronger.
04. Water Wisely (Not Too Much!)
One of the most common mistakes beginners make is overwatering. It’s tempting to give your herbs a daily drink, but most prefer slightly moist—not soggy—soil.
Stick your finger into the soil about an inch deep. If it feels dry, it’s time to water. If it still feels damp, wait a day or two. It’s better to underwater a bit than to drown them.
When watering, pour slowly until you see water draining from the bottom. Empty any excess water from the saucer so the roots don’t sit in it. For delicate herbs, a spray bottle mist in between waterings can help keep leaves fresh without oversaturating the soil.
Bonus Tip: Mint tends to like more water than thyme, which prefers things on the drier side. Pay attention to how each herb responds, and adjust your watering habits accordingly.
05. Snip Often and Harvest Regularly
Here’s a fun gardening secret: the more you harvest, the more your herbs will grow. Regular trimming encourages your plants to become bushier and fuller, rather than tall and leggy.
For herbs like basil, pinch off the top sets of leaves just above a pair of leaf nodes (the place where two leaves meet the stem). This will prompt the plant to grow two new stems, giving you more leaves over time.
With chives, simply use scissors to cut the leaves about an inch from the soil. Thyme and parsley can be snipped as needed—just don’t take more than a third of the plant at once to avoid stressing it.
Bonus Tip: Morning is the best time to harvest herbs when their essential oils are strongest, giving you maximum flavor and aroma.
06. Feed Them Occasionally
Indoor herbs can thrive for months, but because they’re in containers, they eventually use up the nutrients in the soil. Give them a little boost every 4–6 weeks with a diluted, all-purpose liquid fertilizer. A half-strength dose is usually enough—think of it like a light snack, not a feast.
Too much fertilizer can make herbs grow quickly but lose their flavor, so less is definitely more here.
07. Make It Part of Your Home
The best part about an indoor herb garden is how it transforms your space. A row of lush green herbs instantly brings life to your kitchen or dining area. You can hang them on a wall-mounted shelf, line them up on your window ledge, or even create a vertical garden with a tiered stand.
Not only do they smell incredible, but they also become a beautiful, functional part of your daily routine. Imagine sipping your morning coffee next to a little mint plant, or tearing fresh basil leaves while your sauce simmers on the stove—it’s the ultimate cozy home upgrade.
Final Thoughts
Starting an indoor herb garden isn’t complicated, and you don’t need to be a master gardener to make it work. With sunlight, good soil, proper watering, and a little attention, you’ll be amazed at how quickly your herbs grow.
It’s one of those small, simple changes that brings daily joy—every snip, every burst of fresh aroma, every flavor boost in your cooking.
So grab a few pots, pick your favorite herbs, and create your own little green corner. Your future self (and your future meals) will thank you.